Concrete Polishing & Levelling: Vancouver Complete Guide 2025
From floor preparation for tile installation to stunning polished concrete finishes, learn everything about professional concrete polishing, grinding, and leveling services in Vancouver.
Understanding Concrete Floor Services
Concrete floor services encompass three main categories: leveling (preparing uneven surfaces), grinding (removing coatings and smoothing), and polishing (creating glossy, finished floors). Whether you're preparing for tile installation or creating a polished concrete finish, professional concrete services are essential for Vancouver residential and commercial properties.
Why Concrete Floor Services Matter
- Foundation for tile: Proper leveling prevents tile failure and lippage
- Cost-effective flooring: Polished concrete eliminates need for other materials
- Durability: Professional finishes last 20+ years with minimal maintenance
- Improved aesthetics: Transforms dull concrete into beautiful floors
- Enhanced value: Quality concrete work increases property value
- Moisture management: Proper preparation prevents water issues
Types of Concrete Floor Services
1. Concrete Floor Leveling
Leveling creates a flat surface essential for tile installation and other finished flooring.
When Leveling Is Needed
- Before tile installation (most critical application)
- Uneven floors with dips, slopes, or high spots
- After removing old flooring materials
- Settling foundations causing floor irregularities
- New construction with imperfect concrete pours
Leveling Methods
Self-Leveling Compound
- Best for minor irregularities (1/8" to 2")
- Flows to create perfectly flat surface
- Quick curing (24-48 hours)
- Ideal for residential applications
- Cost: $3-8 per square foot
Grinding and Patching
- Removes high spots by grinding down
- Fills low areas with patching compound
- More labor-intensive but cost-effective
- Best for moderate unevenness
- Cost: $2-5 per square foot
New Concrete Overlay
- For severely uneven or damaged floors
- Pours new concrete layer (1-2")
- Most expensive but most effective
- Structural repair option
- Cost: $8-15 per square foot
2. Concrete Grinding
Grinding removes surface materials and creates smooth, even concrete.
Applications for Concrete Grinding
- Removing old adhesives, coatings, and paint
- Smoothing rough or broom-finished concrete
- Eliminating surface imperfections
- Exposing aggregate for decorative looks
- Preparing for epoxy coatings or sealers
- First step in polished concrete process
Grinding Equipment
- Floor grinders: Remove 1/16" to 1/8" per pass
- Scarifiers: Aggressive removal of thick coatings
- Edge grinders: Access tight corners and edges
- Dust extraction: Essential for clean, safe work environment
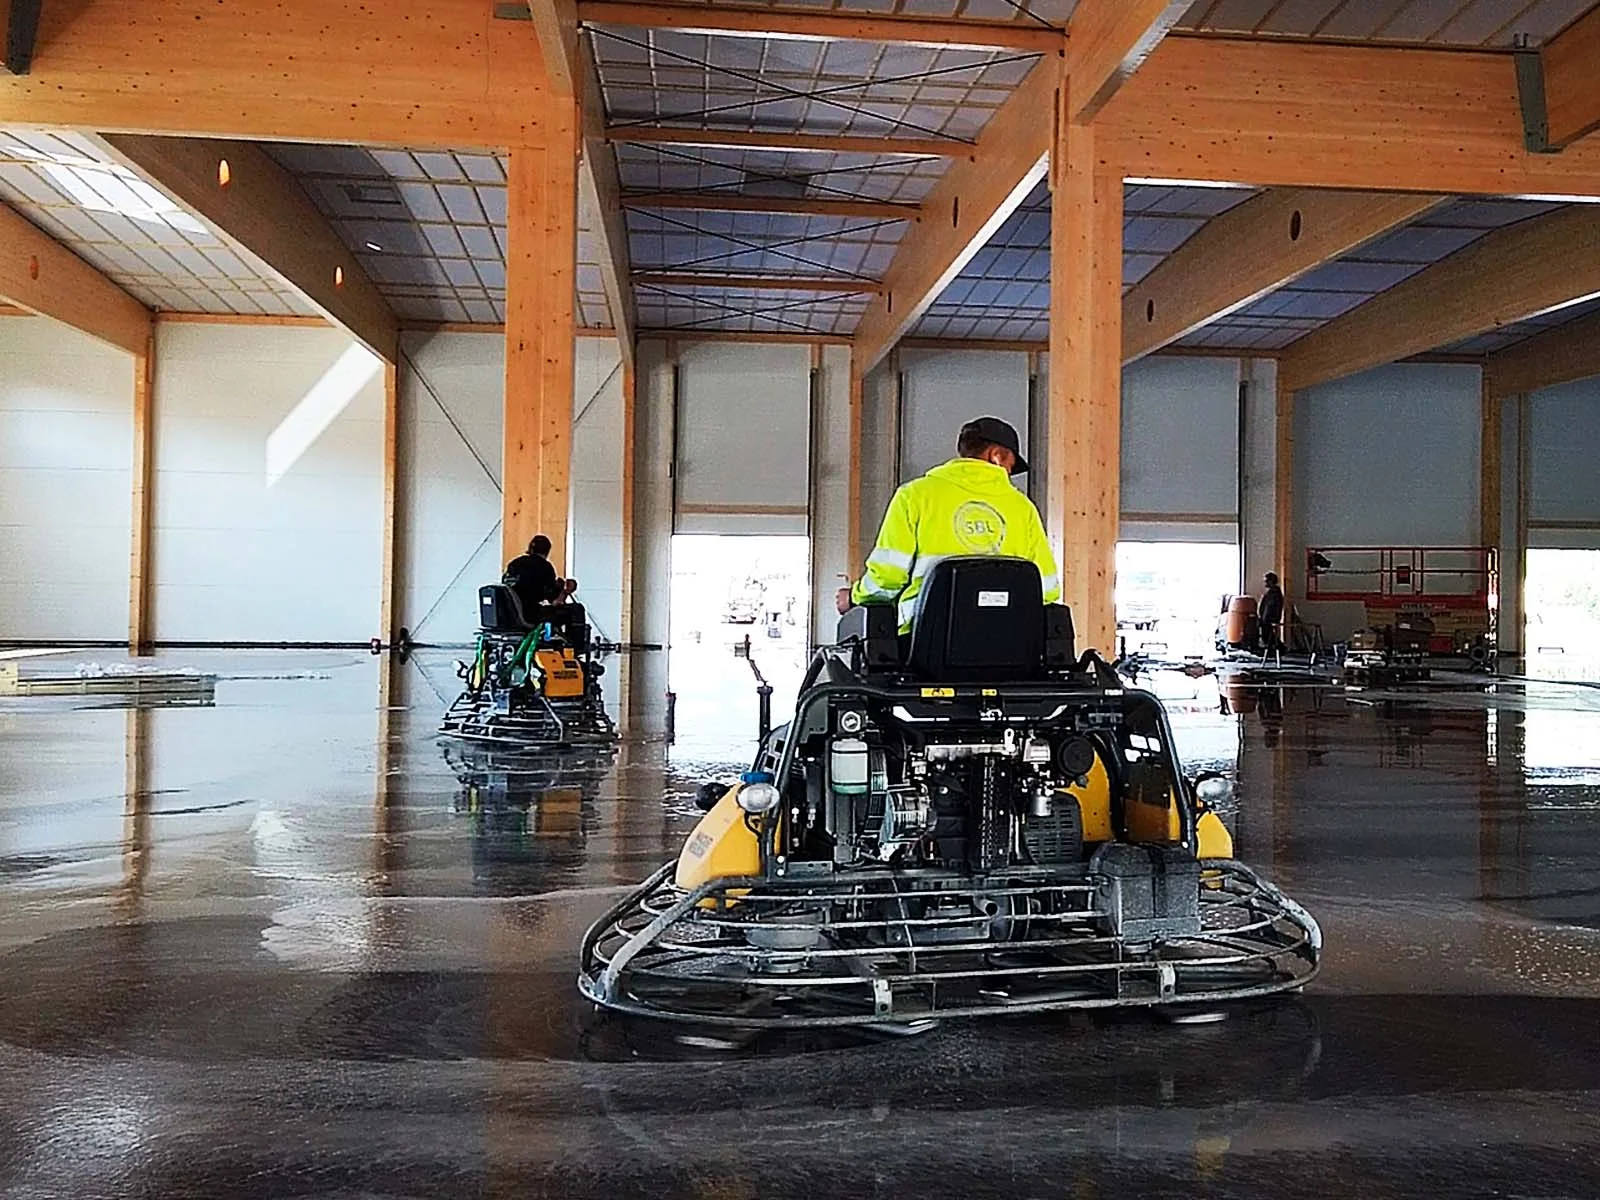
3. Polished Concrete Floors
Polishing transforms ordinary concrete into a durable, high-gloss finished floor.
Benefits of Polished Concrete
- Durability: Extremely hard surface resists wear and damage
- Low maintenance: Simple cleaning with microfiber mops
- Cost-effective: No need for additional flooring materials
- Sustainable: Uses existing concrete, no new materials
- Light reflectivity: Glossy surface brightens spaces
- Stain resistant: Densifier and sealer protect surface
- Longevity: 20+ years with minimal maintenance
Best Applications for Polished Concrete
- Commercial spaces: Retail stores, showrooms, offices
- Industrial facilities: Warehouses, manufacturing plants
- Residential basements: Modern, industrial aesthetic
- Garages and workshops: Easy to clean, durable
- Restaurants and cafes: Food-safe, easy maintenance
The Polished Concrete Process
Step 1: Surface Preparation
Proper preparation ensures successful polishing:
- Remove all coatings, adhesives, and contaminants
- Repair cracks and damage
- Grind surface to expose concrete
- Test moisture levels (must be below 3 lbs/1000 sq ft)
- Identify and fill voids
Step 2: Initial Grinding (Coarse Diamonds)
First grinding passes remove surface material:
- 30-40 grit metal-bond diamonds
- Removes up to 1/8" of surface
- Exposes aggregate if desired
- Creates profile for densifier penetration
- Multiple passes for even results
Step 3: Densification
Chemical hardener strengthens concrete:
- Apply liquid densifier (lithium or sodium silicate)
- Penetrates concrete pores
- Chemical reaction creates calcium silicate hydrate
- Hardens surface by 25-40%
- Reduces dusting and porosity
- Allow proper drying time (24 hours minimum)
Step 4: Progressive Grinding (Medium to Fine Grits)
Multiple passes with increasingly fine diamonds:
- 80 grit resin-bond pass (removes scratches)
- 150 grit pass (refines surface)
- 400 grit pass (begins polishing process)
- Each pass removes previous scratches
- Vacuum and clean between passes
Step 5: Final Polishing (High Grit)
Achieve desired gloss level:
- 800 grit for satin finish
- 1500 grit for semi-gloss
- 3000+ grit for high-gloss mirror finish
- Each level increases reflectivity
- Commercial spaces typically use 800-1500 grit
Step 6: Sealing and Protection
Final protection enhances appearance and durability:
- Apply penetrating sealer for stain resistance
- Optional topical sealer for added protection
- Guard treatment for enhanced maintenance
- Allow full curing before use (7 days typical)
Concrete Leveling for Tile Installation
Why Leveling Matters for Tile
Tile installation requires extremely flat surfaces to prevent:
- Lippage: Edges of tiles at different heights
- Cracking: Tiles break when not fully supported
- Grout failure: Uneven stress causes grout to crack
- Aesthetic issues: Uneven floors look unprofessional
- Water pooling: Low spots collect water
Industry Standards for Tile Underlayment
Different tile types require different flatness:
- Standard tiles (12x12" or smaller): 1/8" variance over 10 feet
- Large format tiles (15x15" or larger): 1/16" variance over 10 feet
- Extra-large tiles (24x24"+): 1/8" variance over 10 feet in any direction
Professional Floor Leveling Process
Step 1: Assessment and Measurement
- Use laser level or long straightedge
- Identify all high and low spots
- Measure variance across entire floor
- Calculate material requirements
Step 2: Surface Preparation
- Clean floor thoroughly (remove all dirt, oil, paint)
- Grind or scarify if contaminated
- Repair cracks and structural damage
- Apply primer to improve adhesion
Step 3: Leveling Compound Application
- Mix self-leveling compound per manufacturer specs
- Pour in strategic locations
- Spread with gauge rake to approximate thickness
- Allow compound to flow and self-level
- Use spike roller to release air bubbles
- Maintain consistent temperature during curing
Step 4: Verification and Preparation for Tile
- Verify flatness after curing (24-48 hours)
- Sand high spots if needed
- Clean surface for tile adhesion
- Ready for tile installation
Cost Breakdown for Vancouver Projects
Concrete Leveling Costs
- Self-leveling compound: $3-8 per square foot (materials and labor)
- Grinding and patching: $2-5 per square foot
- Concrete overlay: $8-15 per square foot
- Large projects (1,000+ sq ft): Often get volume discounts
Concrete Grinding Costs
- Basic grinding (coating removal): $2-4 per square foot
- Extensive grinding (smoothing): $3-6 per square foot
- Scarifying (heavy removal): $4-8 per square foot
Polished Concrete Costs
- Basic polish (80-400 grit): $3-6 per square foot
- Standard polish (up to 800 grit): $5-8 per square foot
- High-gloss polish (1500-3000 grit): $8-12 per square foot
- Decorative options (staining, scoring): Add $2-5 per square foot
- Minimum project charges: $500-1,000 for small areas
Example Project Costs
- Small bathroom leveling (50 sq ft): $150-400
- Kitchen leveling (200 sq ft): $600-1,600
- Basement polished floor (800 sq ft): $4,000-9,600
- Commercial showroom (2,500 sq ft): $12,500-30,000
Maintenance for Polished Concrete Floors
Daily Maintenance
- Dust mop or vacuum with soft brush attachment
- Spot clean spills immediately with damp cloth
- Use walk-off mats at entrances to reduce dirt
Weekly/Monthly Maintenance
- Damp mop with pH-neutral cleaner
- Use microfiber mops (avoid harsh scrubbing)
- Clean with automatic scrubber in commercial settings
- Avoid acidic cleaners that can etch surface
Annual Maintenance
- Re-apply guard treatment or sealer
- Burnish high-traffic areas to restore gloss
- Professional cleaning if needed
- Inspect for damage and repair as necessary
Common Issues and Solutions
Concrete Floor Problems
Cracking
- Cause: Settlement, thermal expansion, structural issues
- Solution: Fill with epoxy or polyurethane, install crack isolation membrane
Moisture Issues
- Cause: Hydrostatic pressure, poor drainage, no vapor barrier
- Solution: Moisture mitigation systems, proper drainage, epoxy moisture barriers
- Critical for tile: Must resolve before tile installation
Spalling and Pitting
- Cause: Freeze-thaw cycles, poor concrete quality, chemical exposure
- Solution: Grind away damaged areas, patch with repair mortar, seal properly
Dusting
- Cause: Weak surface concrete
- Solution: Apply densifier, grind and polish, or apply coating
Residential vs. Commercial Applications
Residential Concrete Services
Homeowners typically need:
- Floor leveling before residential tile installation
- Basement floor polishing for finished spaces
- Garage floor grinding and sealing
- Patio leveling before outdoor tiles
Commercial Concrete Services
Businesses benefit from:
- Large-scale floor leveling for commercial tile
- High-traffic polished concrete in retail
- Industrial grinding and coatings
- Decorative polished concrete in showrooms
- Fast-track projects with quick-cure materials
Why Professional Concrete Services Matter
Professional concrete work requires expertise and specialized equipment:
- Experience: Understanding concrete behavior and solutions
- Equipment: Commercial-grade grinders, leveling tools, dust extraction
- Product knowledge: Selecting right materials for each situation
- Efficiency: Completing work quickly with minimal disruption
- Quality assurance: Proper testing and verification
- Warranty protection: Backing work with guarantees
At Superior Tile Contracting, we coordinate concrete leveling with tile installation for seamless results. Our team has prepared thousands of square feet of floors throughout Vancouver, ensuring every tile installation starts with a perfectly flat foundation.
Conclusion
Professional concrete polishing, grinding, and leveling services are essential for both finished floors and tile preparation. Whether you're creating a stunning polished concrete finish or preparing for tile installation, proper concrete work ensures long-lasting, beautiful results. Investing in quality concrete services saves money long-term by preventing flooring failures and ensuring optimal performance.
Need concrete floor services? Contact us for expert consultation or request a free quote today!
Superior Tile Team
Our concrete specialists have prepared hundreds of floors for tile installation throughout Vancouver. We ensure every surface meets strict flatness requirements for long-lasting tile installations.
Need Concrete Floor Services?
Get expert concrete polishing, grinding, and leveling services